Plenty of successful Amazon brands started with product photos taken on a kitchen table. When you are launching your first product, testing a new variant or simply need a few extra angles quickly, a home studio can produce images that are good enough to sell, at a fraction of the cost of a professional shoot. The key is a repeatable setup and a disciplined process, not expensive equipment.
This guide is about building that setup on a budget and running a shoot day from start to finish. It covers the gear worth buying, whether your phone is enough, how to set up a light tent or tabletop, and a step-by-step plan for the day itself. For the deeper lighting techniques needed to hit a perfectly white background, read our guide to shooting pure white backgrounds. Here we focus on getting you set up and shooting.

Is DIY Right for Your Product?
Home photography works best for small and medium products that fit on a table: accessories, homeware, beauty items, stationery, small electronics, pet products and similar. It is harder for very large items, highly reflective products such as polished chrome, and anything that needs a model and a styled location.
Be honest about time too. A first shoot often takes a full day once you include setup, test shots and mistakes. If your time is better spent on sourcing or advertising, a professional shoot may be cheaper in real terms. Many sellers do a hybrid: DIY for white background shots and simple angles, with a designer or studio for infographics and lifestyle images.
The Budget Gear List
You can build a capable home studio with a modest spend. Prioritise in this order:
- Lighting. Two continuous LED panels or softbox lights with a daylight colour temperature (around 5000 to 5600K) and a high colour rendering index, ideally CRI 95 or above. This is the most important purchase.
- Tripod. A sturdy tripod with a phone mount or camera plate. Sharp images and consistent framing depend on it.
- Background. A white seamless paper roll or a white sweep (a curved plastic or vinyl sheet). Alternatively, a light tent for small items.
- Reflectors and fill cards. White foam boards from a craft shop to bounce light into shadows, and black foam boards to add definition to edges.
- Clamps and tape. A-clamps, gaffer tape and museum putty to hold products and backgrounds in place.
- Remote shutter or timer. Avoids camera shake when you press the button.
- Cleaning kit. Microfibre cloths, a blower brush, cotton gloves and lint roller. Dust is the enemy.
Avoid cheap lights with poor colour rendering. They make colours look wrong, which causes problems later when buyers compare your photos with the real product.
Phone or Camera?
Recent flagship phones can produce excellent product photos in good light, and they are perfectly adequate for many Amazon listings. A dedicated camera still has advantages: larger sensors with less noise, interchangeable lenses including true macro lenses, better control over depth of field, and raw files that hold more detail for editing.
If you use a phone:
- Use the main lens at its native setting rather than digital zoom, which reduces quality.
- Step back slightly and use the 2x or 3x telephoto lens if your phone has one, which reduces distortion on close shots.
- Lock focus and exposure by pressing and holding on the product.
- Turn off beauty filters, scene detection and heavy processing modes if your phone allows.
- Shoot in a raw or pro mode if available, and make sure files are saved as JPEG or converted before upload, since Amazon does not accept HEIC.
If you buy a camera, a used entry-level mirrorless body with a 50mm or macro lens is a solid starting point. Spend on lights before you upgrade the camera.
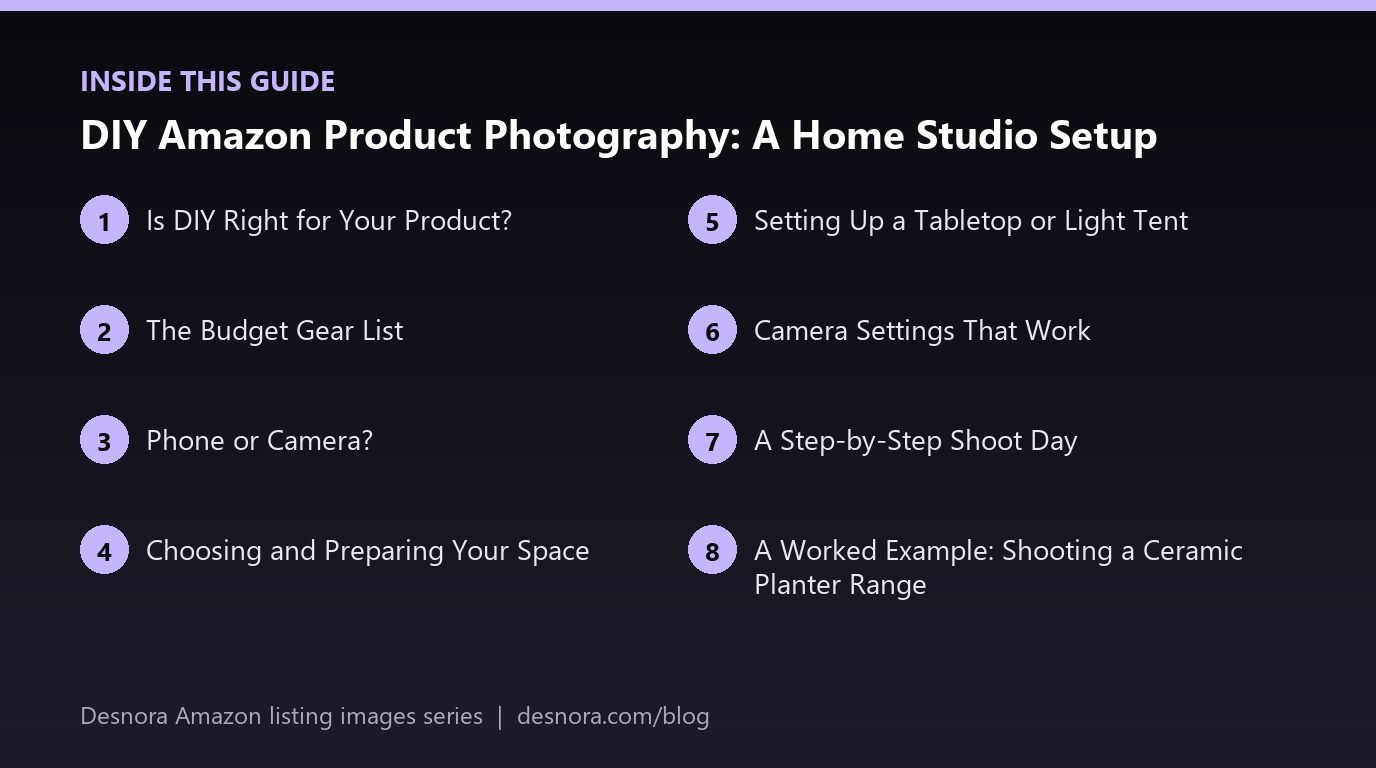
Choosing and Preparing Your Space
Pick a room where you can control light. Daylight from windows changes through the day and colours shift as clouds pass, so for consistent results block windows with blackout material and rely on your LED lights. A spare room, garage or corner of a living room works if you can leave the setup in place between shoots.
You need a sturdy table, roughly a metre of space either side for lights, and room to step back behind the camera. Painted walls nearby can reflect colour onto the product, so neutral white or grey surroundings are best. Turn off overhead lights, which usually have a different colour temperature from your LEDs and cause mixed colour casts.
Setting Up a Tabletop or Light Tent
For a tabletop sweep, clamp the white paper or vinyl to a stand or wall behind the table and let it curve down onto the tabletop without a crease. The curve removes the horizon line so the background reads as continuous white.
A basic lighting layout:
- Key light at about 45 degrees to one side of the product, slightly above, diffused through a softbox.
- Fill light or white card on the opposite side to soften shadows.
- Background light, if you have a third light, aimed at the sweep behind the product to push it brighter than the product.
A light tent is a fabric cube that diffuses light from outside. It is convenient for small products and gives very soft light, but it can make products look flat and it limits camera angles. For jewellery and small reflective items, tents are often the easiest route to clean results.
Camera Settings That Work
On a camera, start with these settings and adjust:
- Mode: manual, so exposure stays consistent across shots.
- ISO: the lowest native setting, often 100, for minimal noise.
- Aperture: f/8 to f/11 for most products so the whole item is in focus. Small products photographed close up may need focus stacking.
- Shutter speed: whatever gives correct exposure with the tripod, often slow, which is why the tripod and remote matter.
- White balance: set manually to match your lights, or use a grey card to set a custom value.
- File type: raw plus JPEG, so you have flexibility in editing.
Shoot large. Amazon needs at least 1000 pixels on the longest side to enable zoom, and around 2000 pixels or more gives room to crop. Our guide to image resolution and zoom explains export sizes in detail.
A Step-by-Step Shoot Day
- Write a shot list. List every image you need: main front view, three-quarter, back, top, details, scale, contents, and any variants.
- Prepare products. Choose the best-looking units, remove stickers and protective film, steam fabrics, and clean thoroughly with gloves on.
- Build the set. Background, lights, tripod and cards in position. Lights on for a few minutes to stabilise.
- Take a test shot. Check exposure, white balance and focus on a computer screen, not just the camera's display.
- Mark positions. Use small pieces of tape to mark the product position and tripod feet so you can return to the same framing for each variant.
- Shoot the hero first. The main image matters most, so do it while you are fresh. Take several frames with slight adjustments.
- Work through the list. Tick off each shot. Shoot a few extra angles you might want later.
- Shoot all variants with identical settings. Swap colours without moving lights or camera.
- Back up immediately. Copy files to two places before you pack away.
A Worked Example: Shooting a Ceramic Planter Range
A seller of handmade ceramic planters in three sizes and four glazes needs images for twelve child listings. A professional quote for the full set is beyond the budget for this launch, so the founder builds a home studio in a spare bedroom.
She buys two high-CRI LED panels with softboxes, a white vinyl sweep, a tripod and foam boards, and uses her recent phone in its pro mode. Windows are covered with blackout fabric. The test shot shows the glossy glaze reflecting the softbox as a hard rectangle, so she moves the key light further to the side and adds a large diffusion sheet, which turns the reflection into a soft gradient that shows the shape of the pot.
She tapes positions for each size, photographs the hero angle and a top-down view of every glaze with identical settings, then shoots close-ups of the drainage hole and glaze texture. A coin and a hand appear in separate scale shots. The whole session takes a day, and she sends the best frames to a retoucher for background clean-up. The consistency across the twelve children is what makes the range look professional.
After the Shoot: What to Do With Your Files
Select the best frames, then edit for exposure, white balance and cropping. The main image background will usually need work to reach pure white, and dust spots need removing. Keep originals untouched and save edited versions separately. Our guide to retouching product photos explains clean-up without misleading buyers. Export JPEGs in sRGB, named clearly by product and view, ready for upload.
Home Studio Checklist
- High-CRI daylight LED lights, tripod and white sweep or light tent.
- Room with windows blocked and overhead lights off.
- Shot list written before you start.
- Products cleaned and prepared with gloves.
- Manual settings, low ISO, f/8 to f/11, custom white balance.
- Test shot checked on a computer screen.
- Positions marked so variants match.
- Files backed up in two places before packing away.
When you outgrow the home studio, or need infographics and lifestyle images to sit alongside your own photos, Desnora can help. Explore our Amazon listing image design service or contact us.
Frequently Asked Questions
Can I take Amazon product photos with my phone?
Yes. Recent phones produce good results in controlled light with a tripod. Avoid digital zoom and heavy processing, and save as JPEG.
What is the most important piece of equipment?
Lighting. Two daylight LED lights with high colour rendering will improve your photos more than a new camera.
Do I need a light tent?
Not always. Tents are handy for small and reflective items, but a tabletop sweep gives more control over shadows and angles.
Can I use natural window light?
You can, but it changes through the day and causes inconsistent colour. Artificial lights give repeatable results across shoots.
What camera settings should I use?
Manual mode, the lowest ISO, an aperture around f/8 to f/11, a tripod and white balance set to match your lights.
What resolution should I shoot at?
Use your camera's full resolution. Final images need at least 1000 pixels on the longest side for zoom, with around 2000 pixels or more recommended.
Why do my white backgrounds look grey?
The background is usually underexposed. Add light to the background itself or adjust exposure, then finish in editing.
How do I photograph shiny products at home?
Use large, diffused light sources, move lights to the side, and use white and black cards to shape reflections.
How long does a home shoot take?
A first shoot often takes a full day including setup and tests. Later shoots are faster once positions and settings are known.
Can I shoot lifestyle images at home?
Simple ones, yes. Images with models or styled rooms often benefit from a professional photographer or designer.
What format should I save photos in?
Shoot raw plus JPEG if possible, then export final images as JPEG in sRGB. Amazon does not accept HEIC.
How do I keep variants consistent?
Do not move lights or camera between colours. Mark positions with tape and use identical manual settings for every variant.